
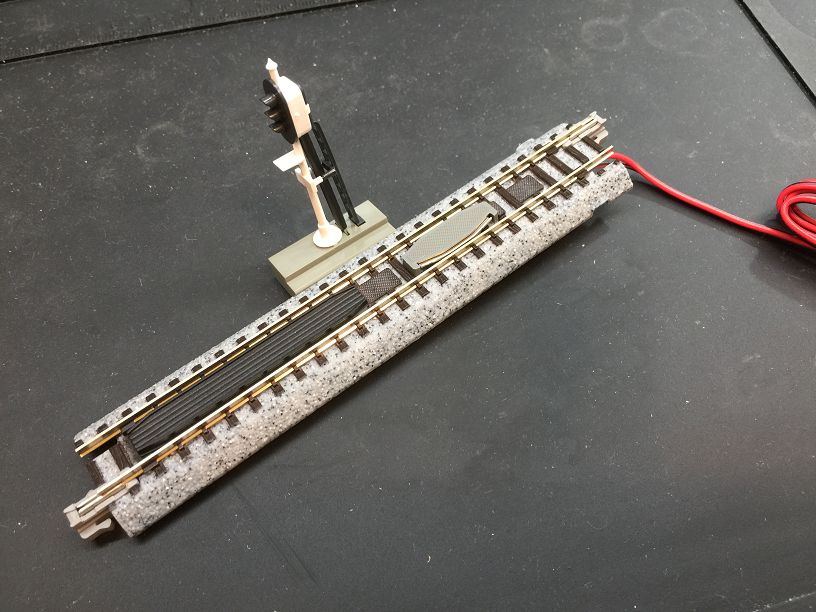
本次主角,Kato 信號燈,原來使用在用原類比環境,安裝K-SD605後可以用於DCC.t
This time, the protagonist, the Kato signal light, was originally used in the original analog environment.After installing K-SD605, it can be used for DCC.
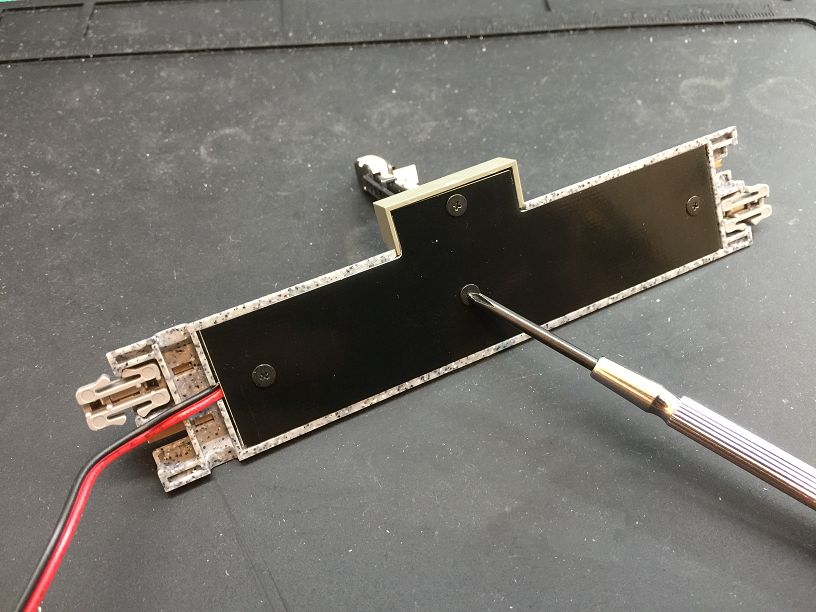
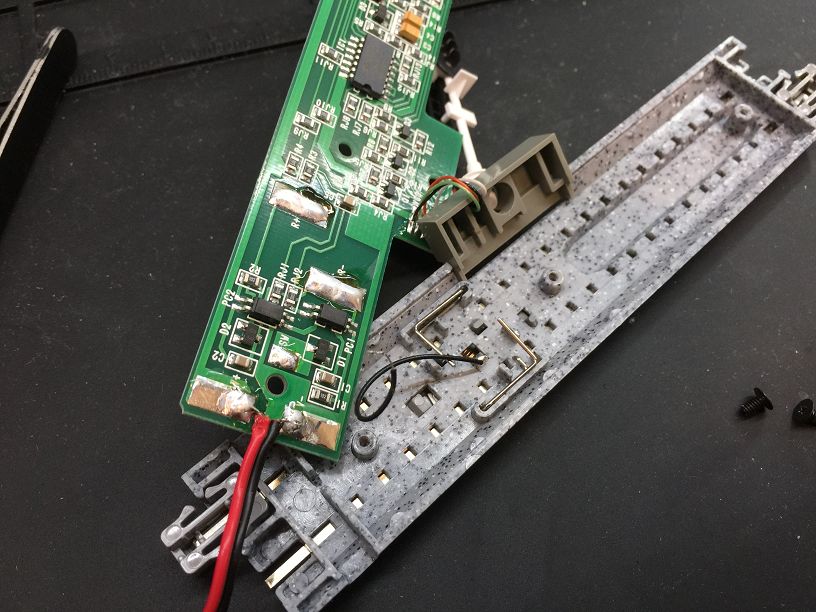
信號燈背面有4個螺絲要拆除
There are 4 screws on the back of the signal light to be removed.
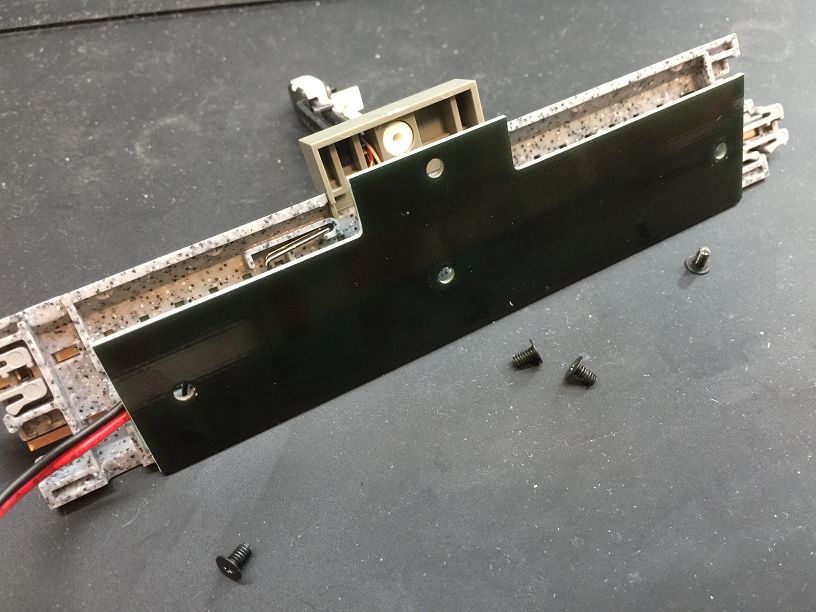
拆除時要注意內部接電彈簧會彈開
When removing, pay attention to the internal electric spring will spring open.
打開後有電燈的線與開關的線,總共5條線
There are a total of 5 wires for the electric wire and the switch after opening.
焊開黑色開關線
Solder the black switch wire.
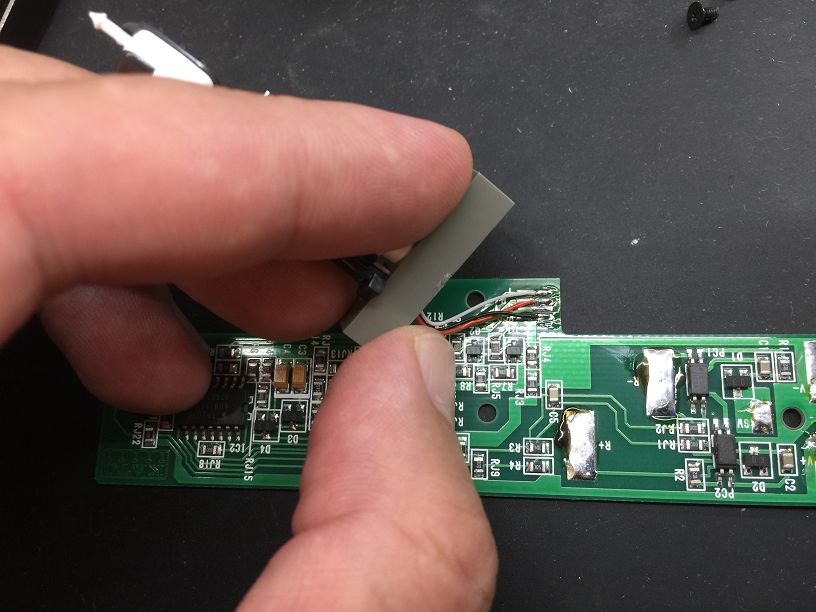
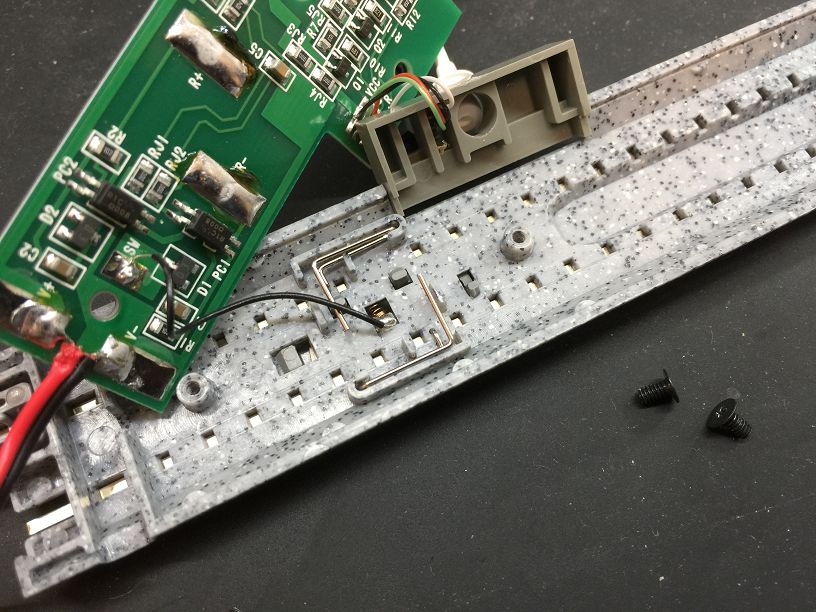
解焊燈的接線,由照片上至下分別是白, 紅, 綠, 黑
The wiring of the desoldering lamp is white, red, green, and black from top to bottom of the photo.
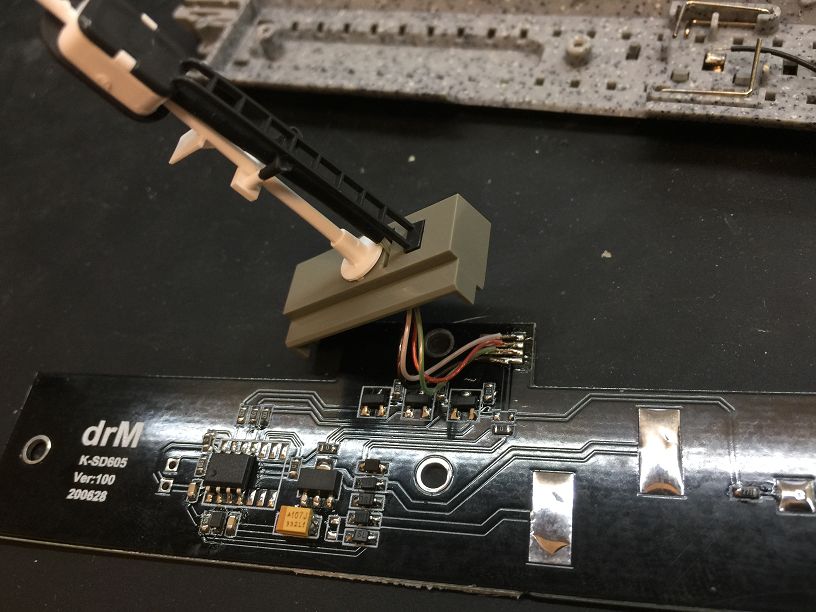
依序將燈接線,焊接在K-SD605解碼器上,白,紅,綠,黑
Connect the lights wire (white,red,green,black) in sequence and solder them to the K-SD605 decoder.
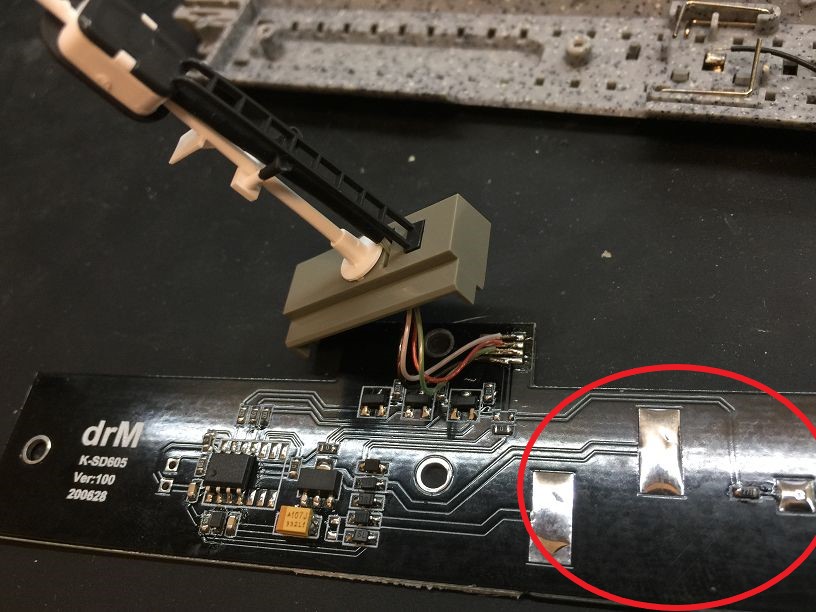
紅圈上三個方形接點焊一層錫
Solder a layer of tin to the three square contacts on the red circle.
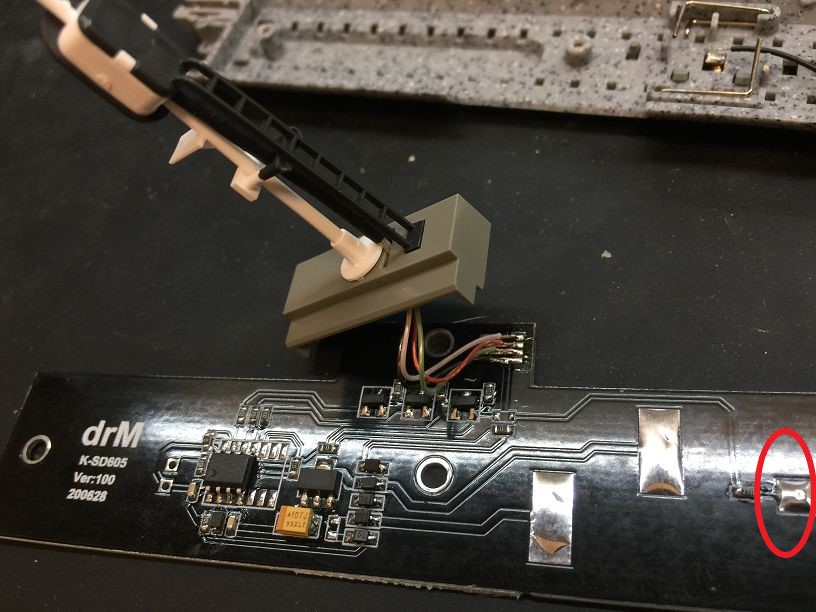
將軌道上黑色開關線焊接在紅圈接點
Solder the black switch wire on the track to the red circle contact.
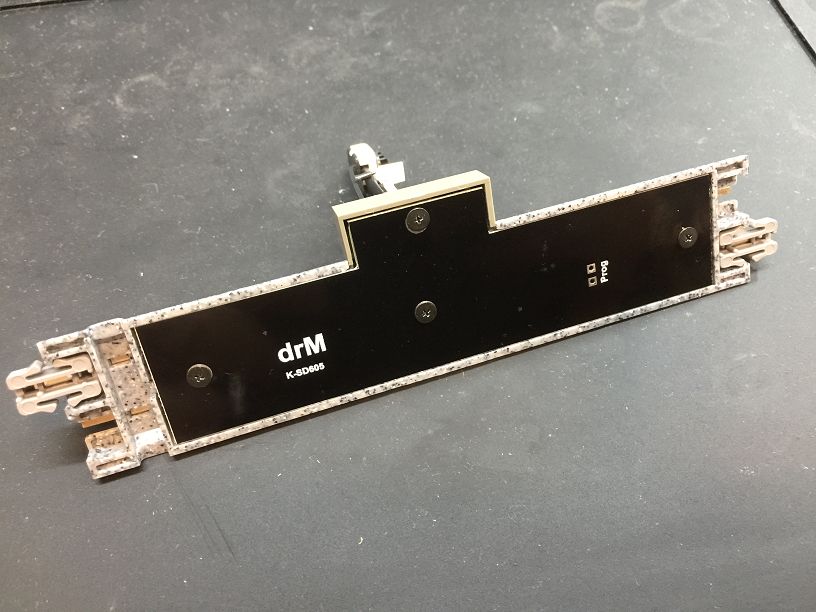
裝回軌道上接點彈簧,整理好軌道開關線,將螺絲鎖回軌道上.
Replace the contact spring on the track, arrange the track switch wire, and lock the screw back to the track.
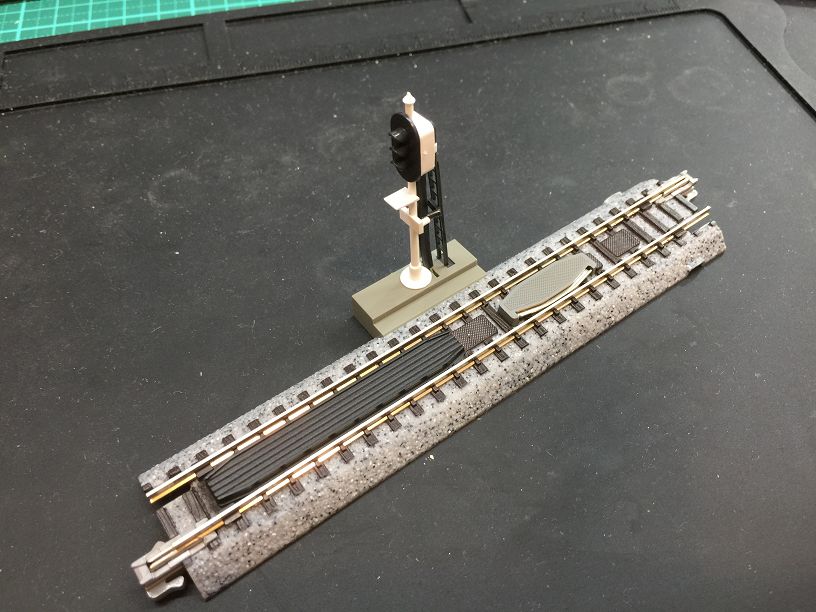
安裝完直接接DCC控制器,就可以使用,K-SD605 出廠設定與Kato原來顯示方式相同, 如果要切換DCC控制需要另外切換CV值.
After installation, it can be used directly by connecting to the DCC controller.The factory setting of the K-SD605 is the same as the original display method of Kato.If you want to switch the DCC control, you need to switch the CV value.