
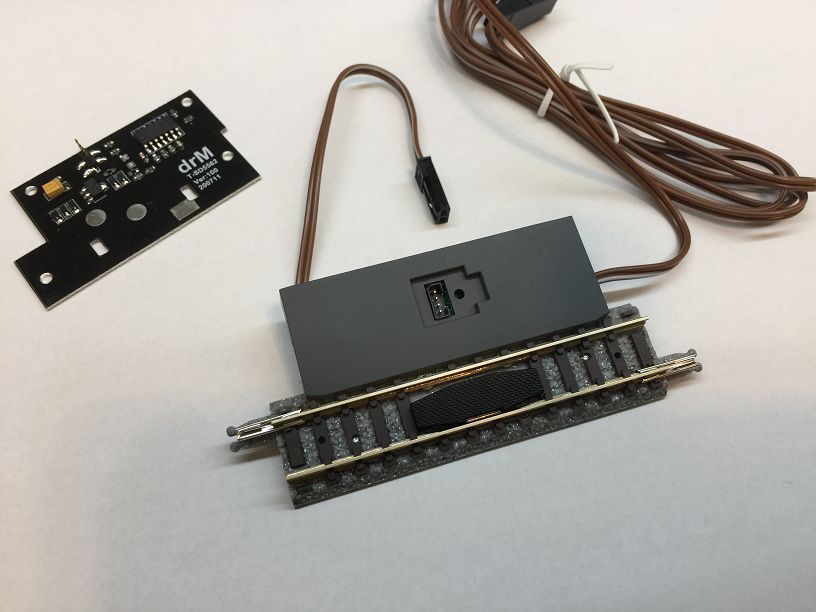
Tomix 5562 4-light signal light.
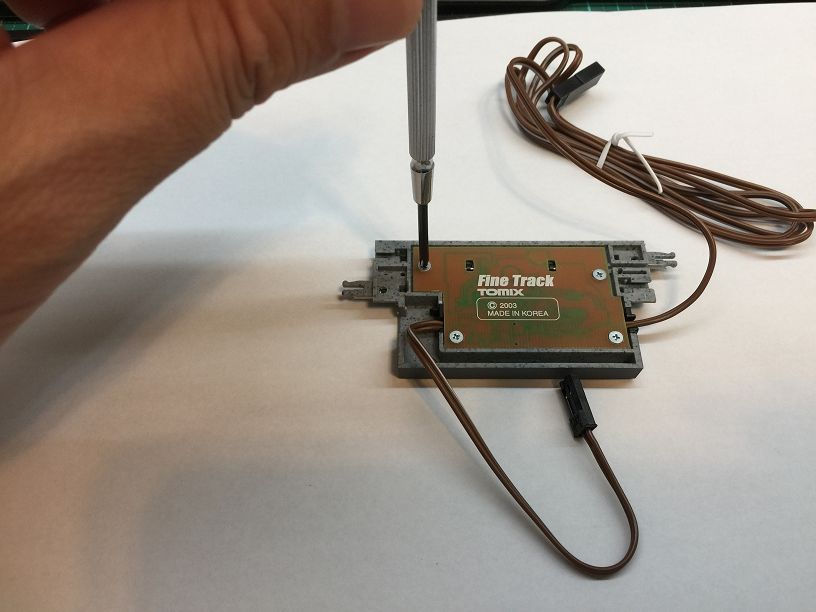
Remove the four screws on the back of the signal light.
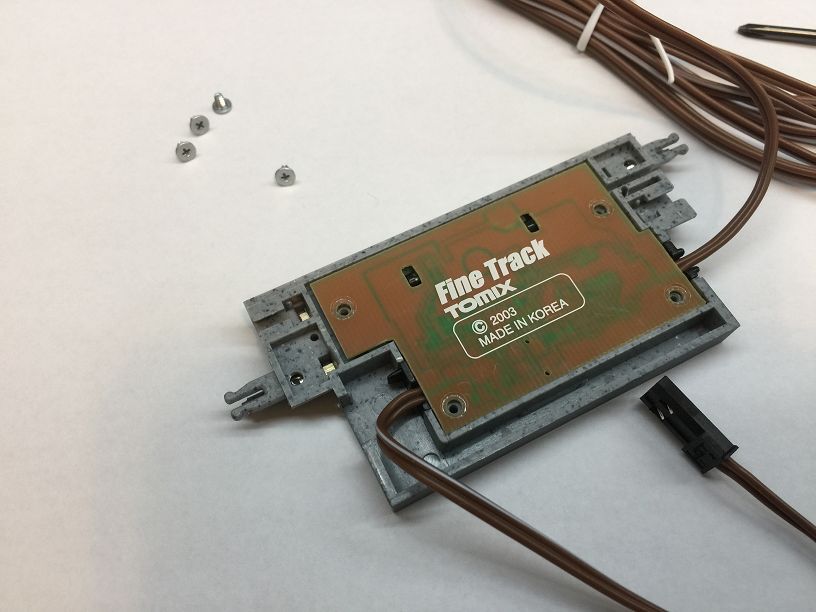
Remove the back circuit board.
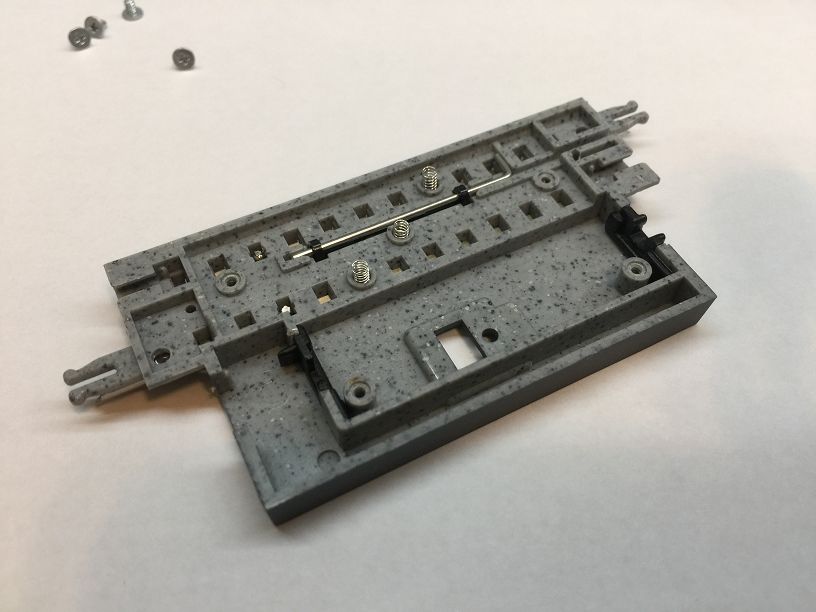
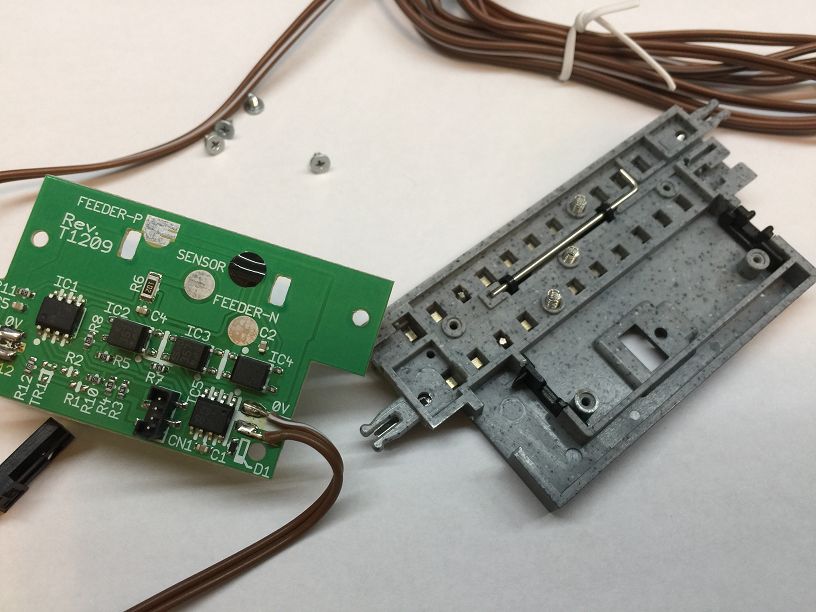
Note that there are three contact springs inside.
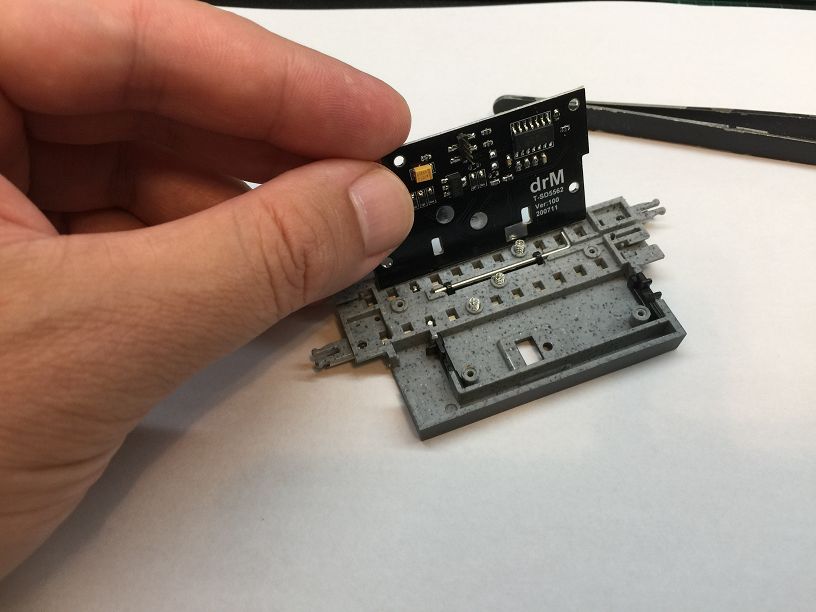
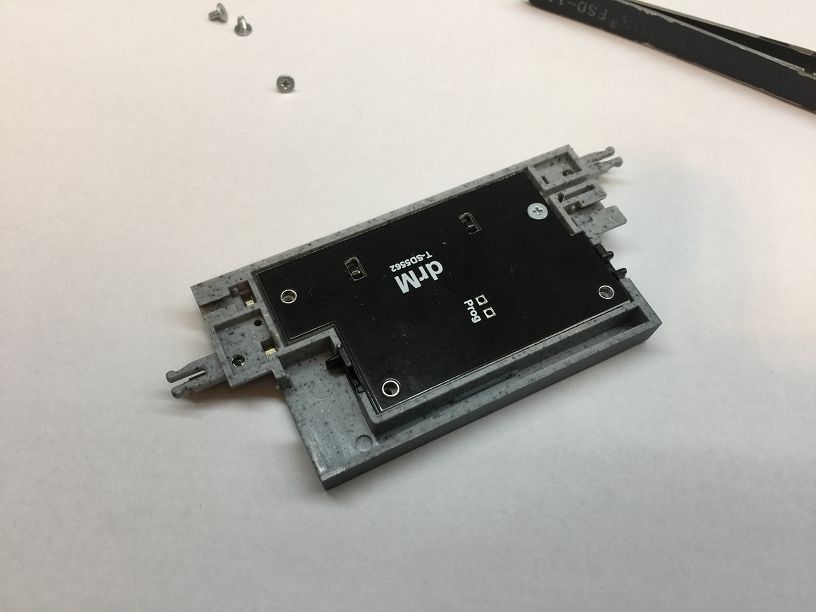
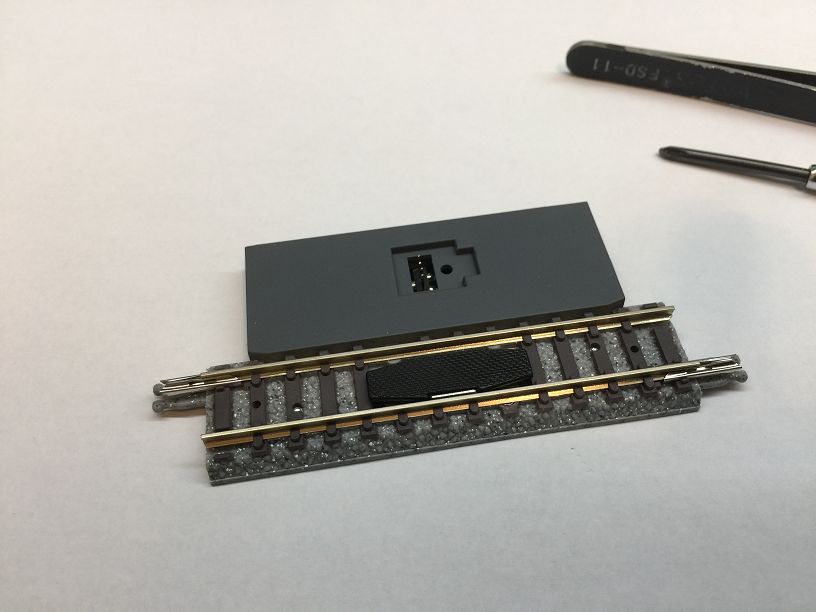
T-SD5562 is installed to the original PCB position.
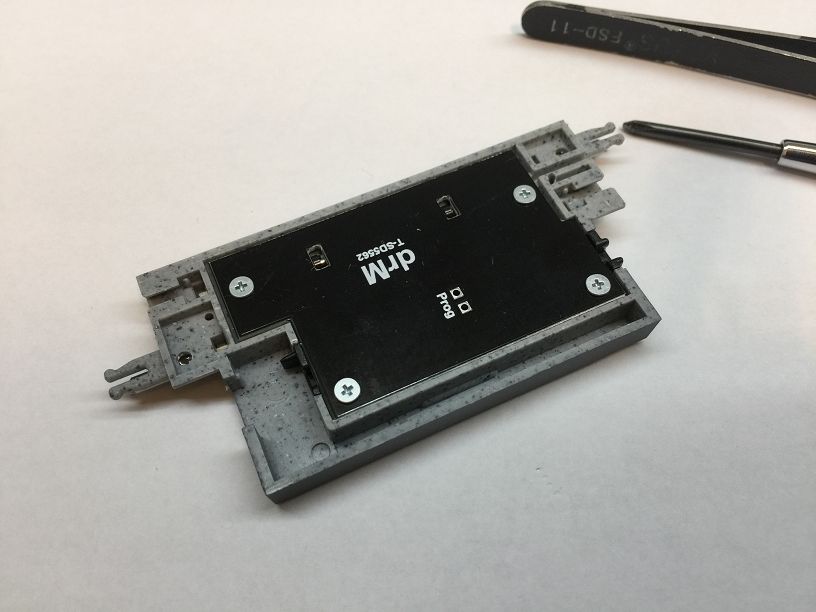
Screw back to the base.
Turn back to the front.
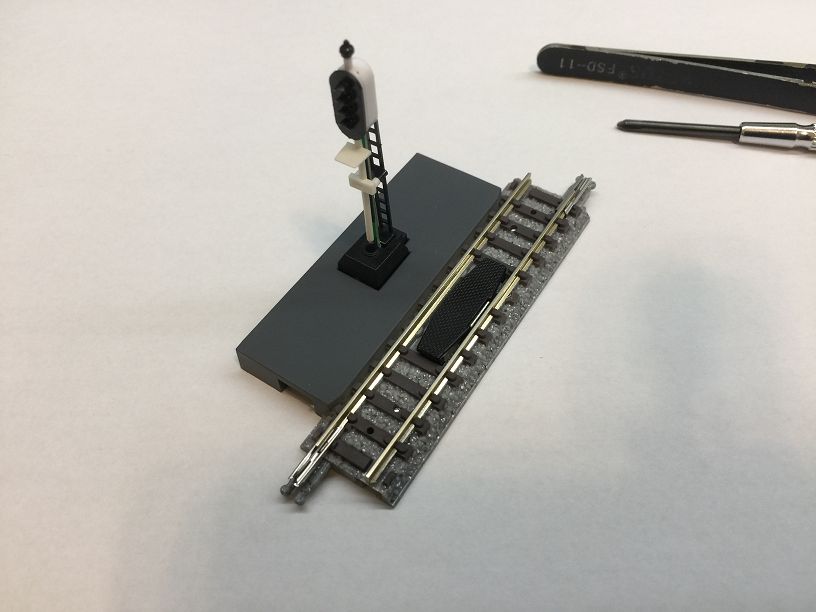
The signal light is installed on the base according to the shape.
This can be used on the track.