
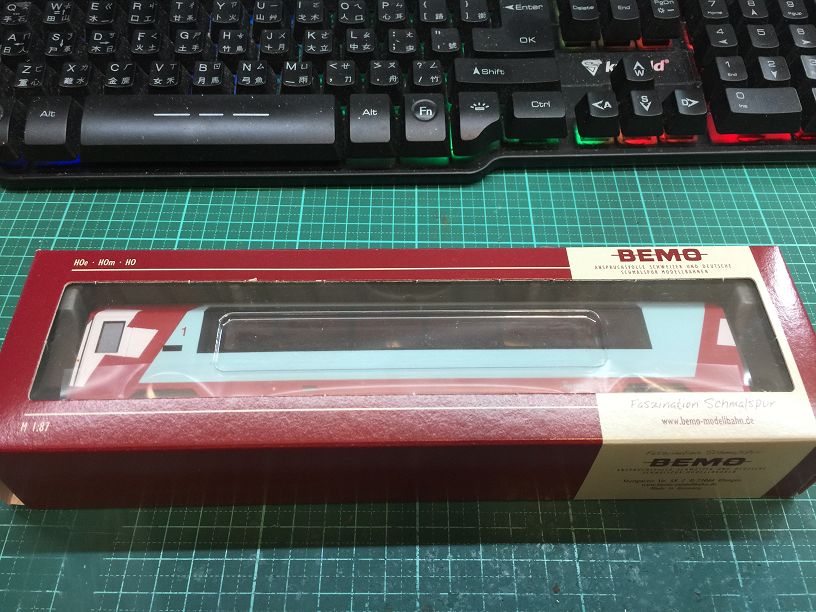
改裝車輛BEMO 冰河列車.
Modified vehicle BEMO Glacier Train.
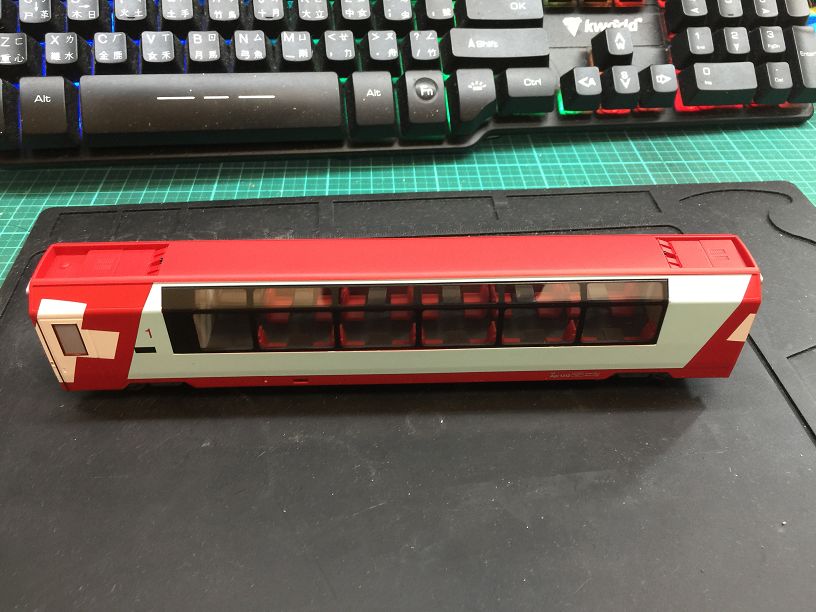
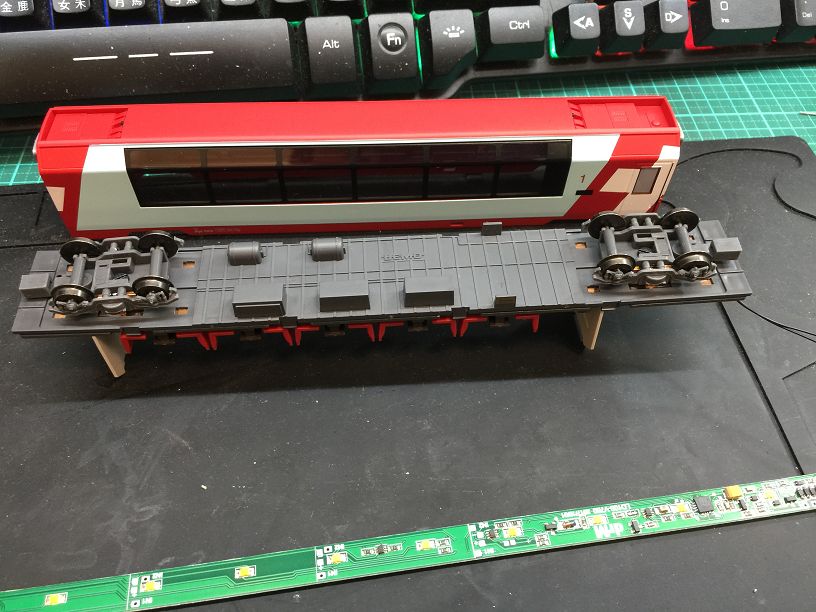
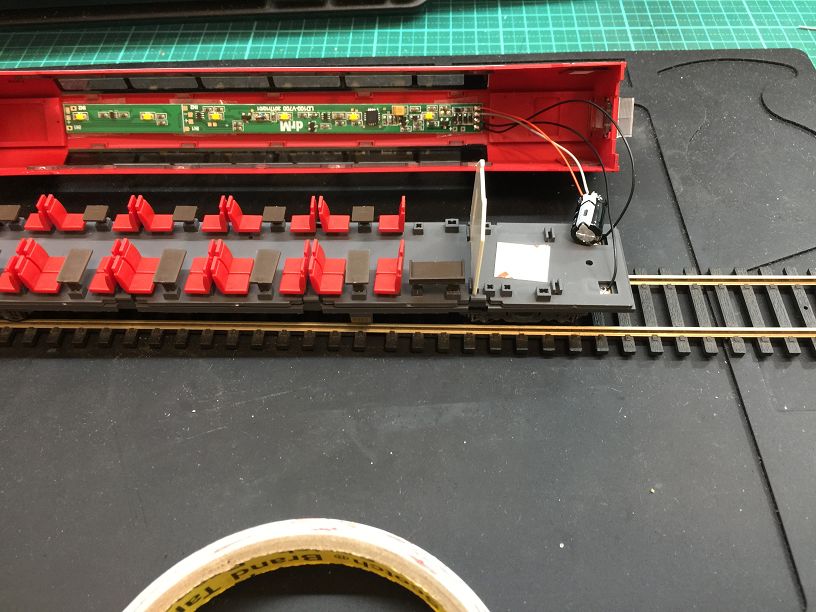
車殼兩側拉開打開車殼.
Pull both sides of the train cover to open the train cover.
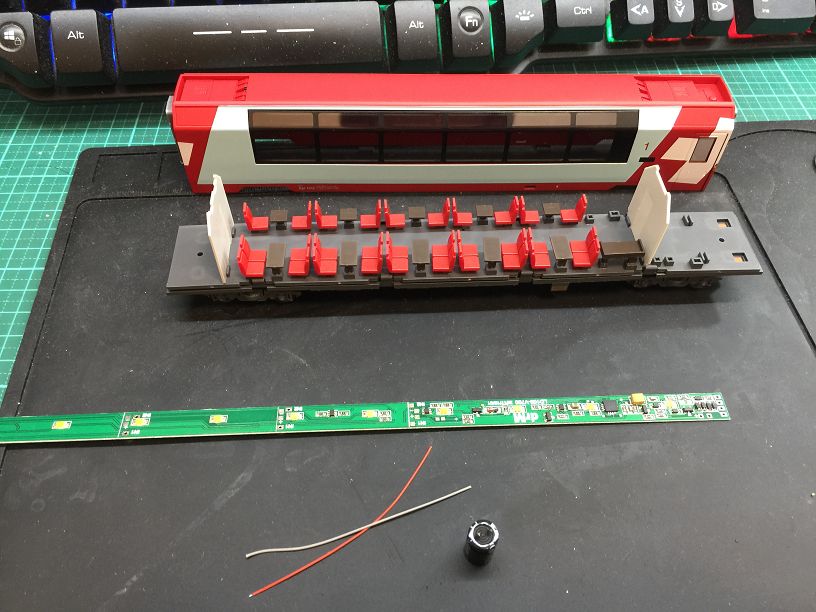
連接軌道電源與470uF電容.
Connect the rail power supply and 470uF capacitor.
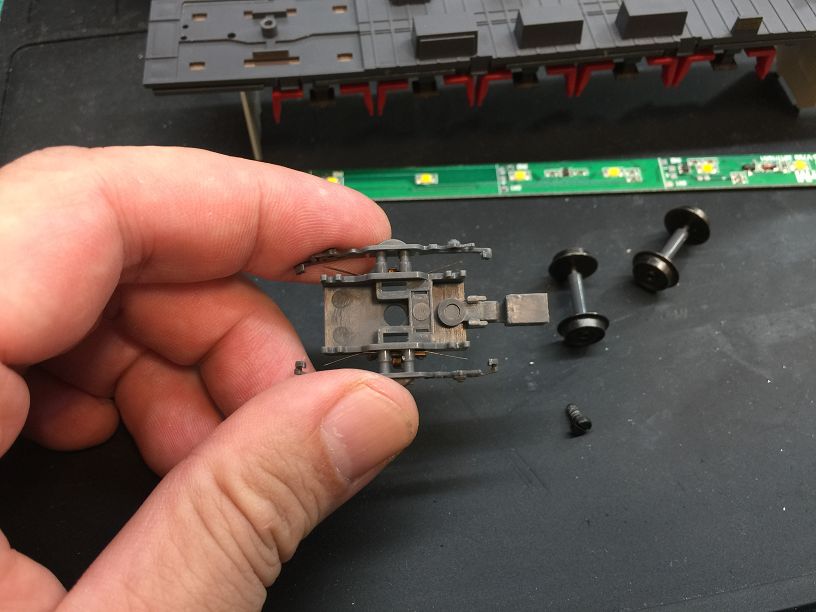
將輪子上兩側接電片輕輕撥開.再將輪子裝回.
Gently remove the electrical connections on both sides of the wheel.Put the wheels back again.
兩側輪子都要處理.
The wheels on both sides must be handled.
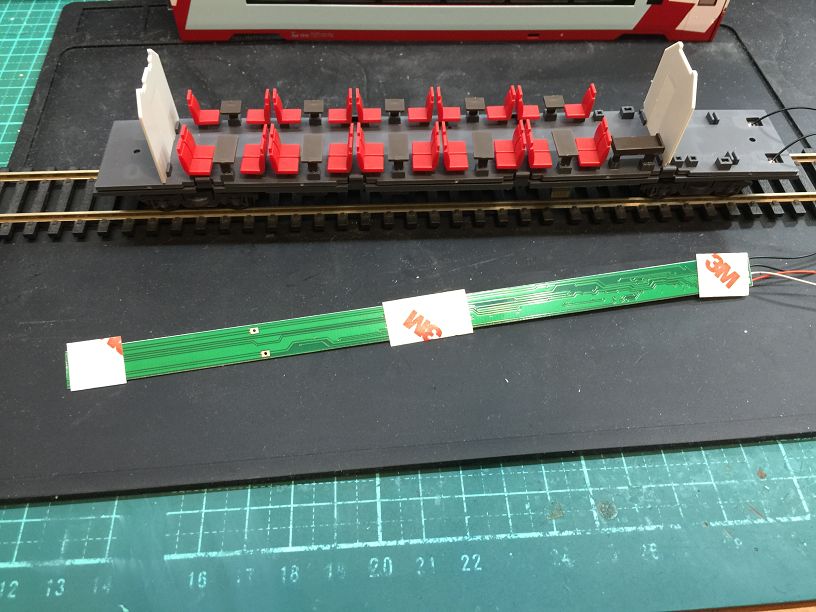
燈條裁切倒適當長度.背面貼上膠帶.
The light bar is cut to an appropriate length. Tape on the back.
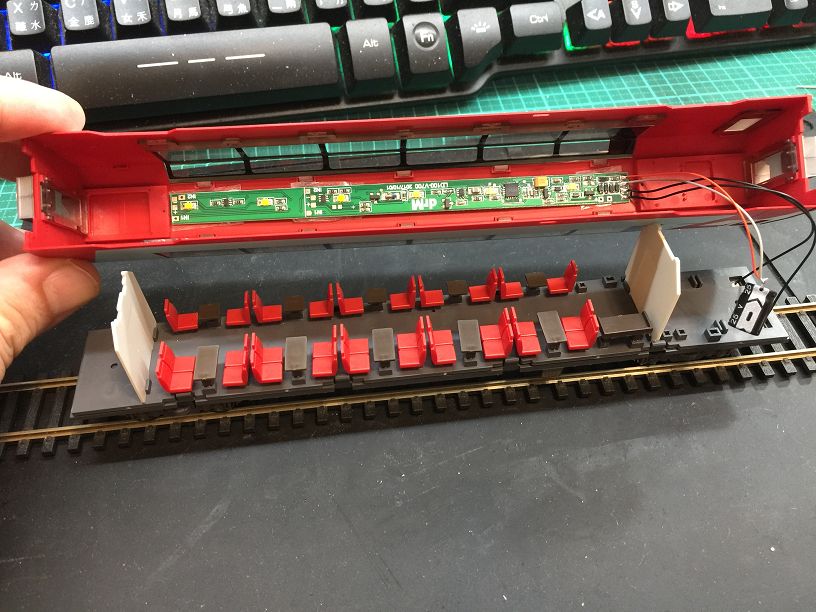
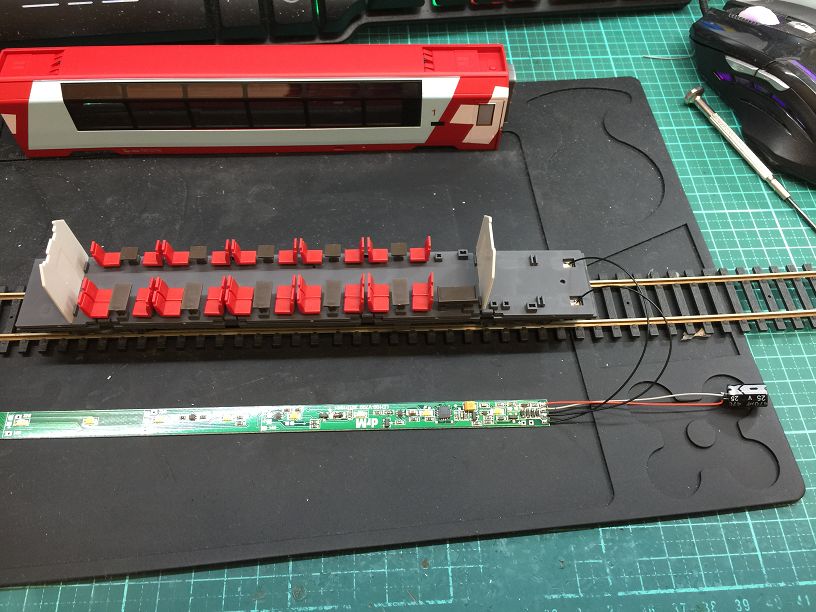
燈條貼在車頂位置.
The light bar is attached to the roof of the train.
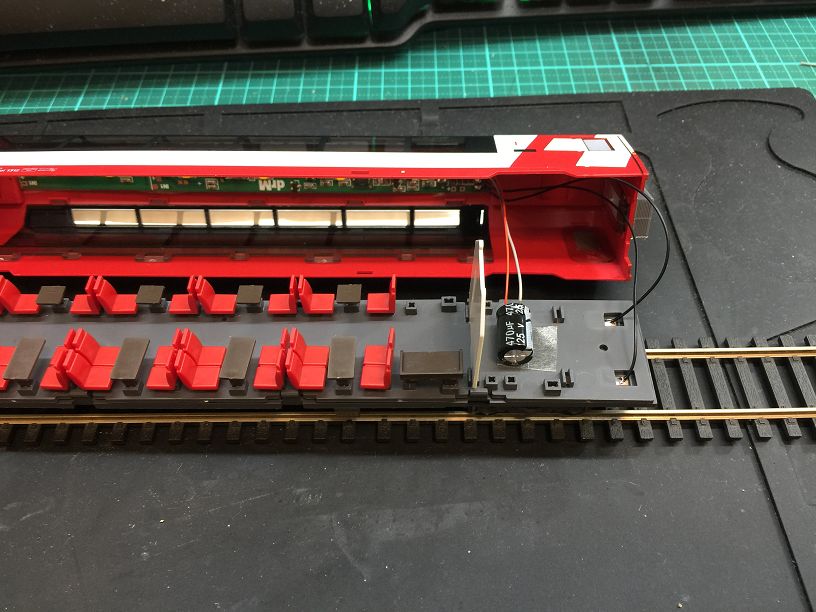
電容用膠帶固定.
The capacitor is fixed with tape.
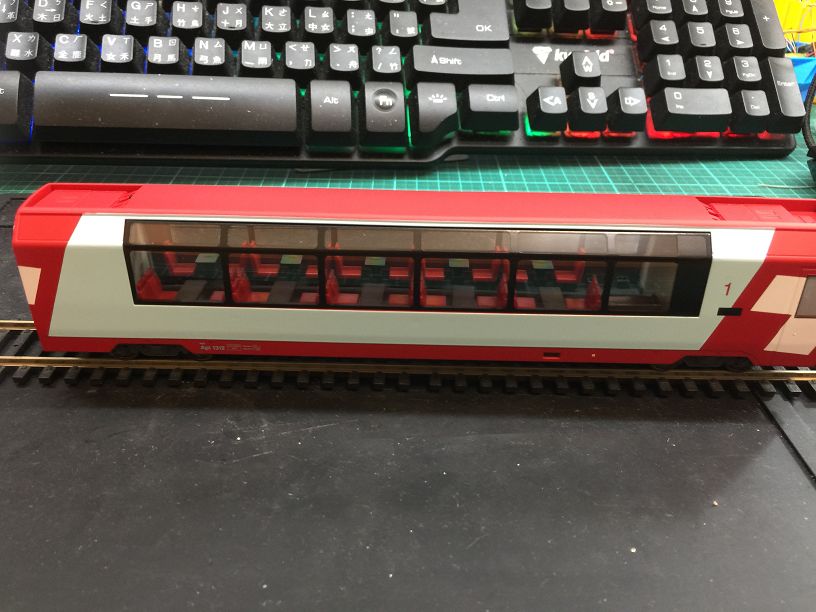
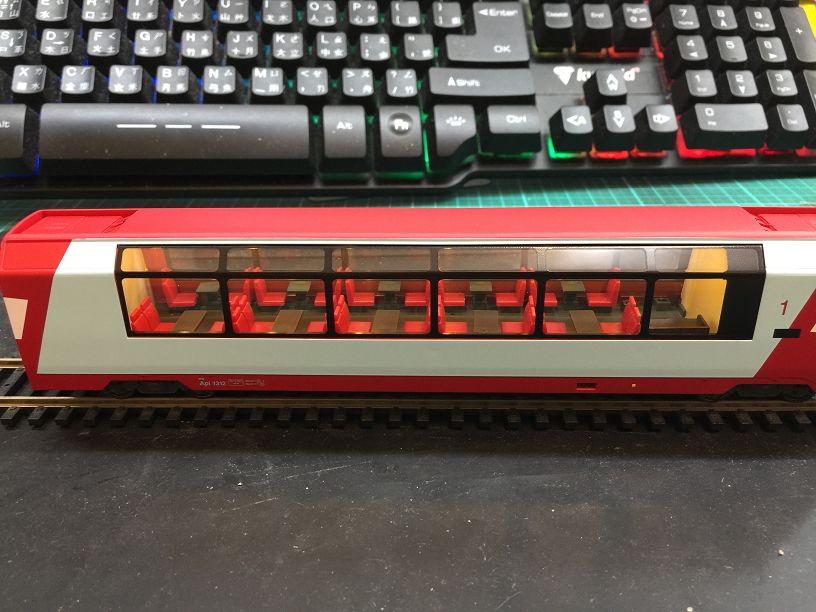
車殼蓋回完成.
Install the shell of the train.