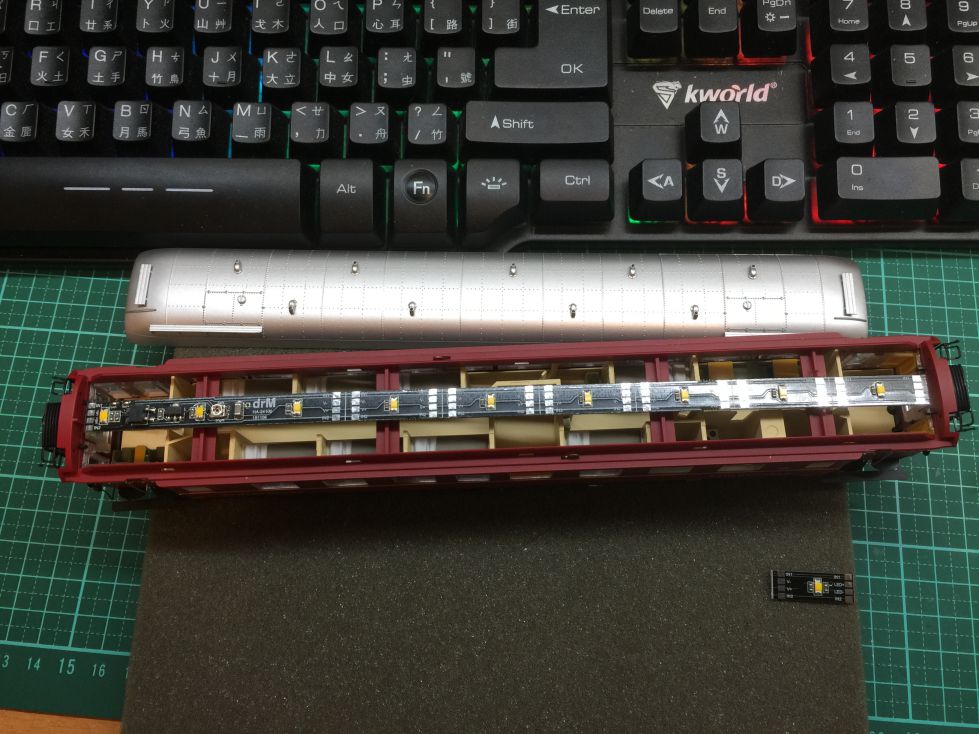
Release the roof from the coach body carefully.
![](http://drm.com.tw/wp-content/uploads/2019/02/IMG_8793.jpg)
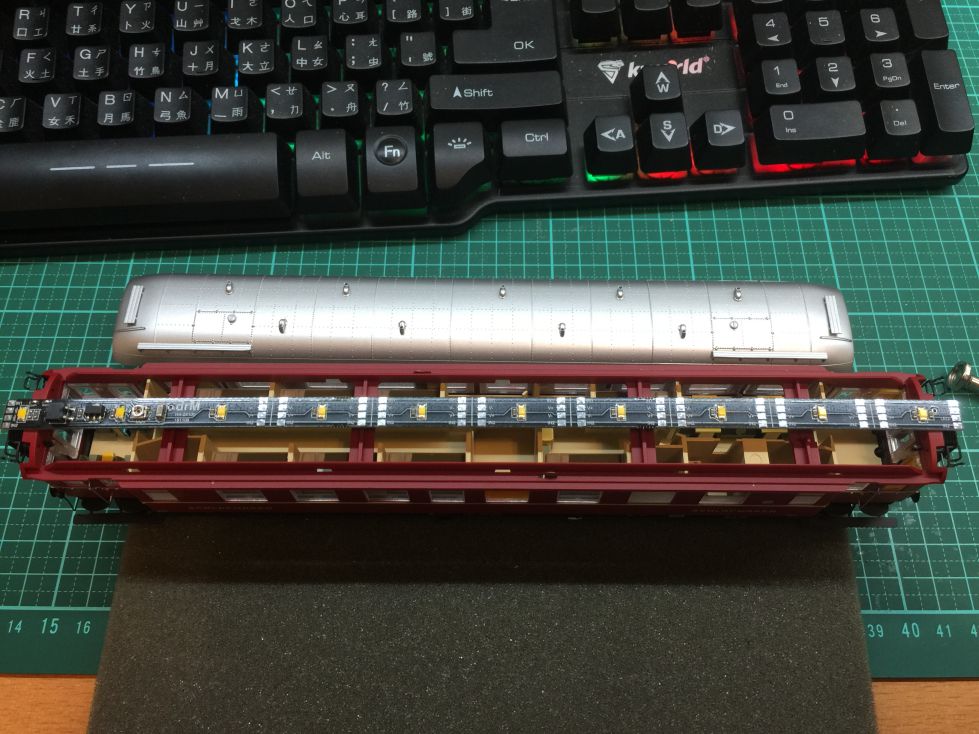
Cut the light bar according to the length of coach in unit. The white line in the figure is the separation line of unit.
![](http://drm.com.tw/wp-content/uploads/2019/03/IMG_8794.jpg)
Put the modified light bar into the coach for double-checking its length.
![](http://drm.com.tw/wp-content/uploads/2019/02/IMG_8795.jpg)
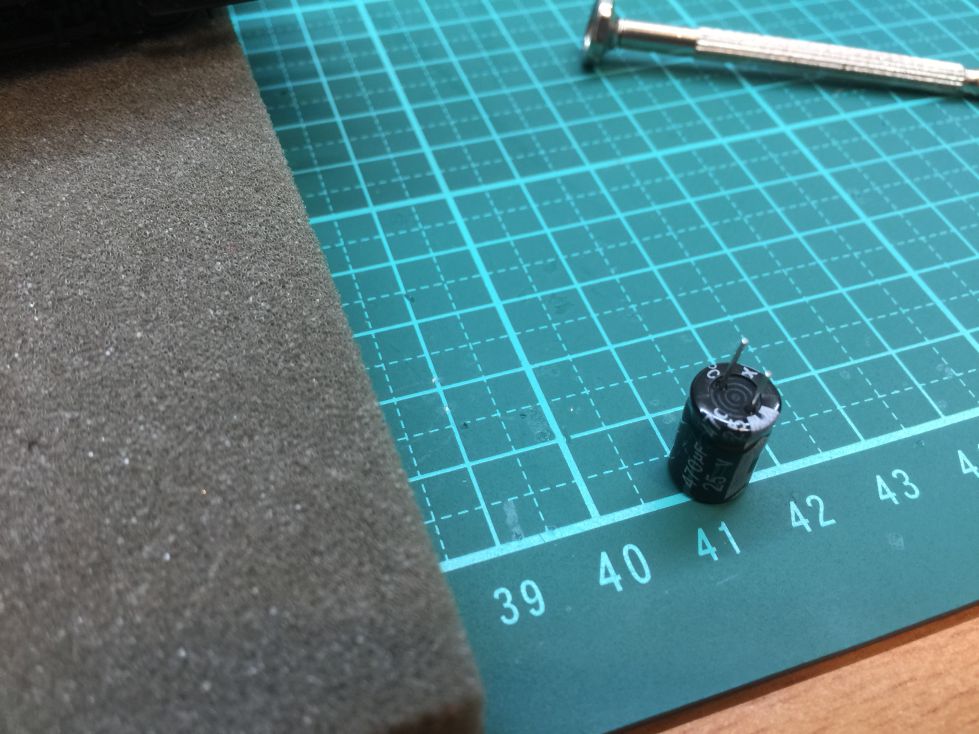
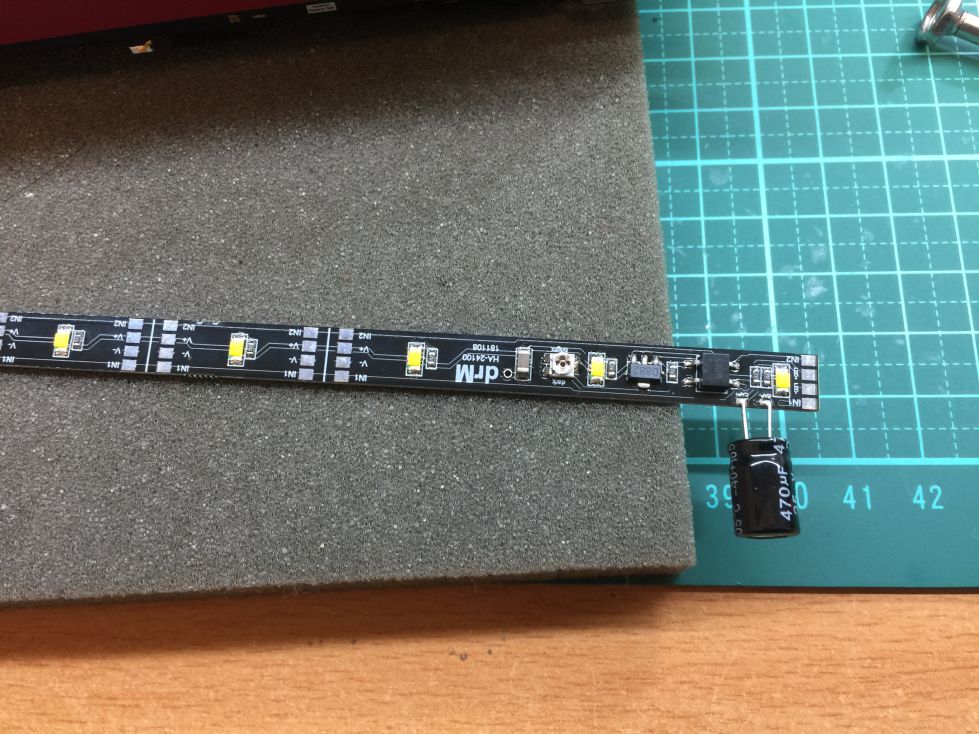
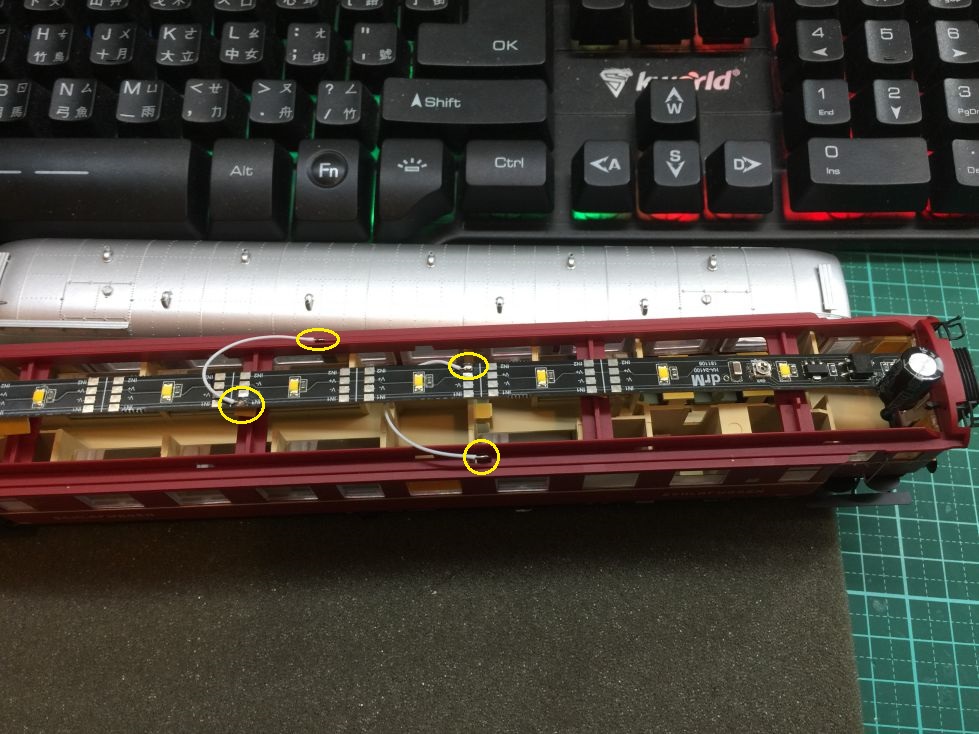
One 470uF/25V is required to prevent LED from blanking due to possible unstable power suppling.
![](http://drm.com.tw/wp-content/uploads/2019/02/IMG_8796.jpg)
Solder the capacitor on the light bar as figure.
![](http://drm.com.tw/wp-content/uploads/2019/02/IMG_8797.jpg)
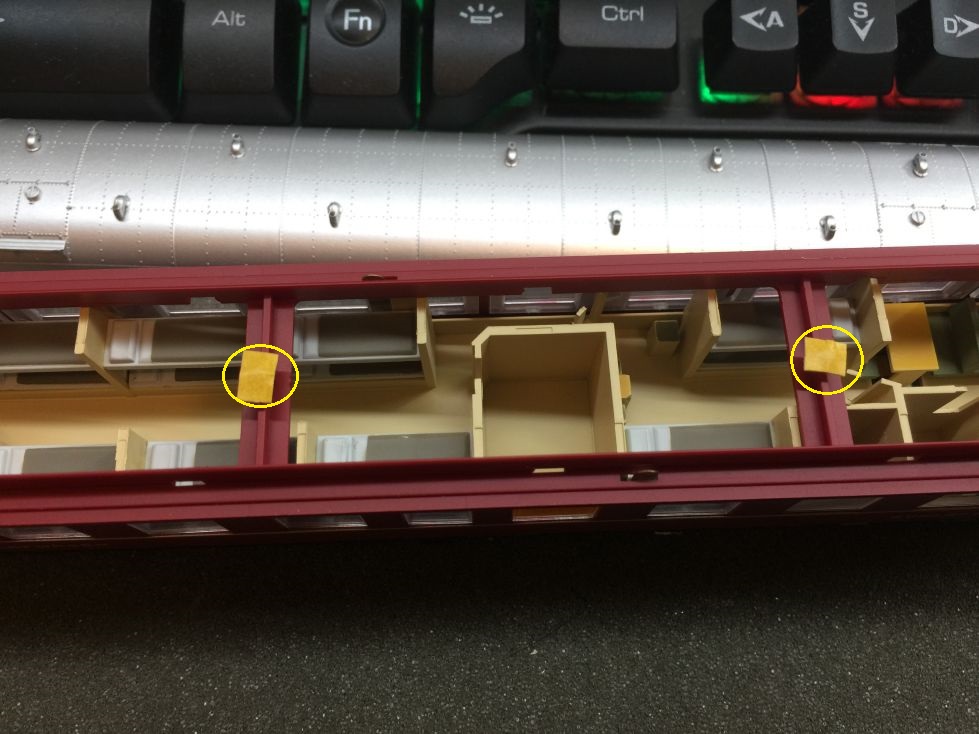
Double-sided tape can be used for fastening the light bar.
![](http://drm.com.tw/wp-content/uploads/2019/03/IMG_8798.jpg)
Connect the IN1/IN2 of light bar to the contact.
![](http://drm.com.tw/wp-content/uploads/2019/03/IMG_8799.jpg)
Turn around the light bar to let LED face inside the coach.
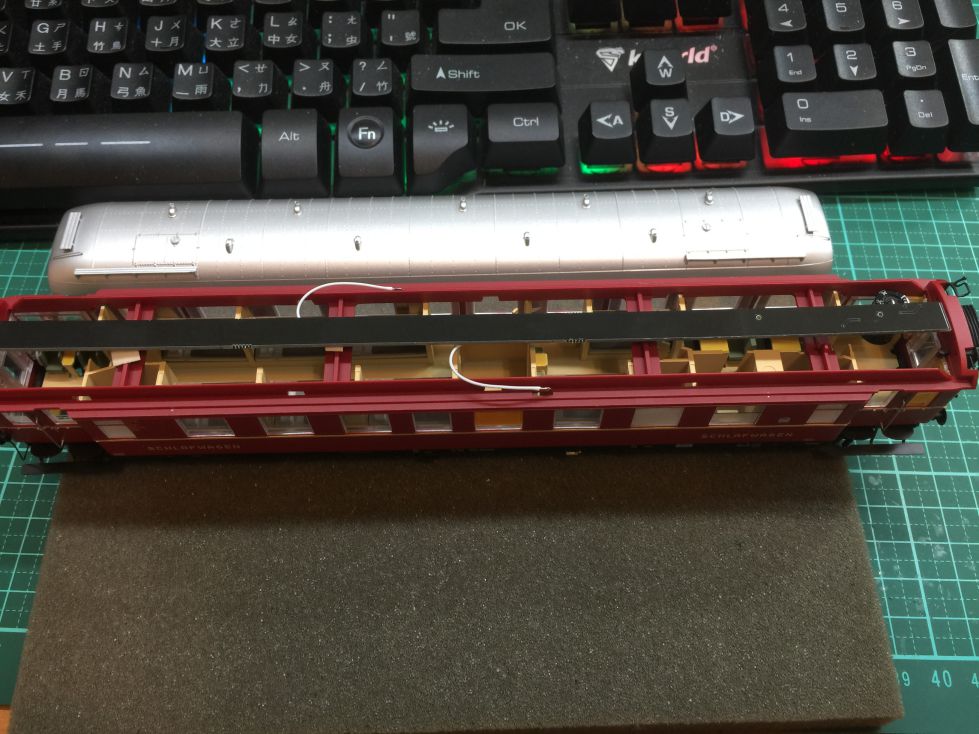
![](http://drm.com.tw/wp-content/uploads/2019/02/IMG_8800.jpg)
Put the roof back.
![](http://drm.com.tw/wp-content/uploads/2019/02/IMG_8801.jpg)
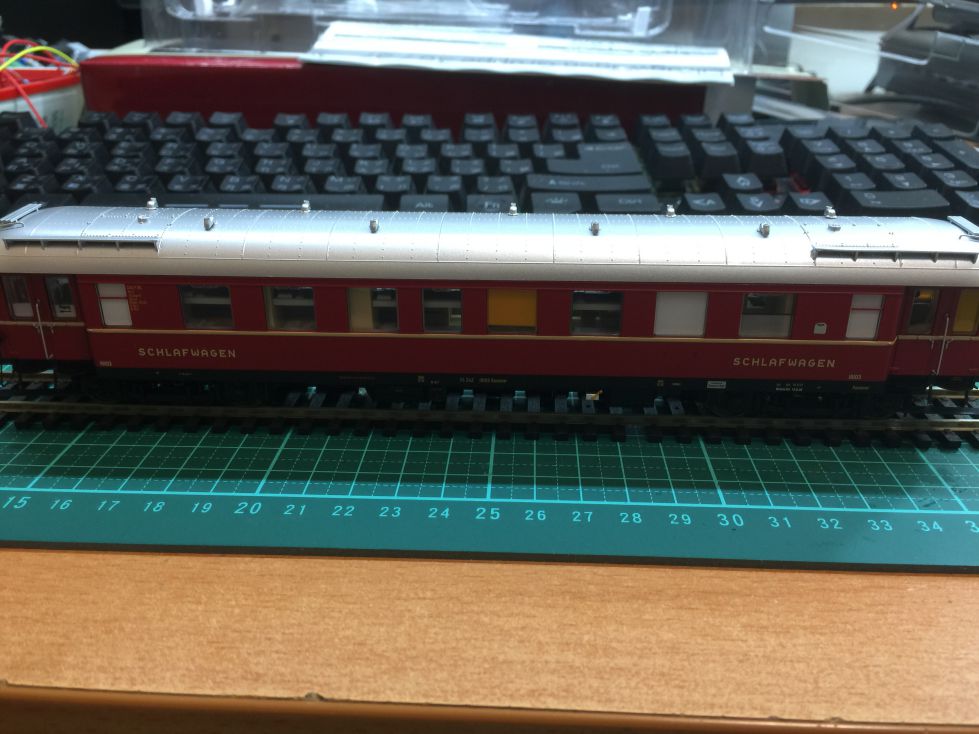
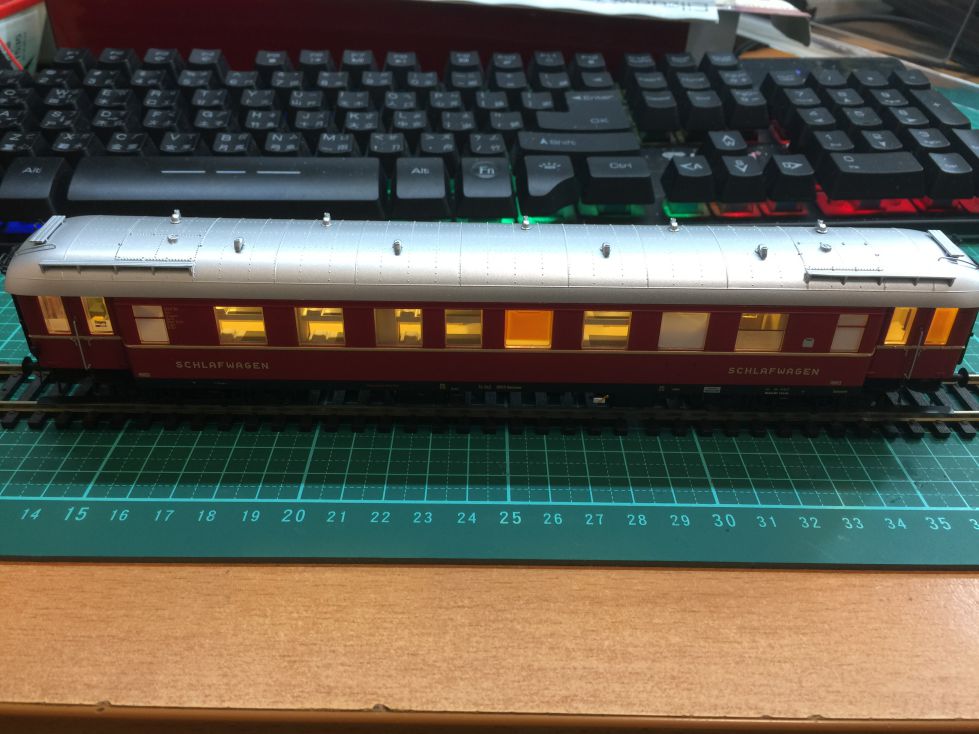
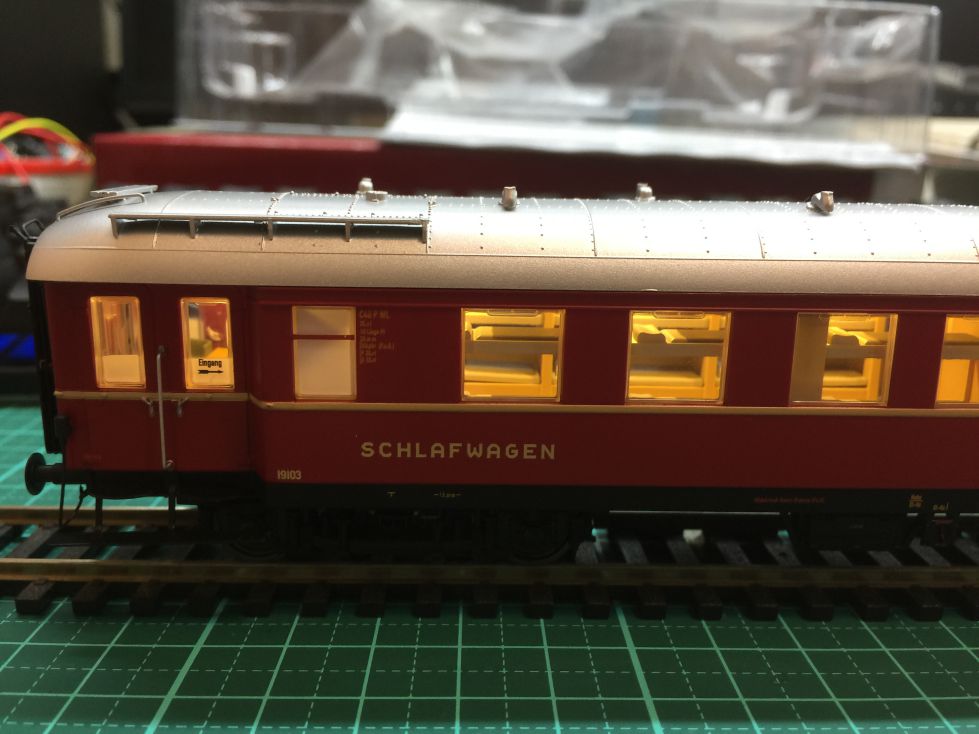
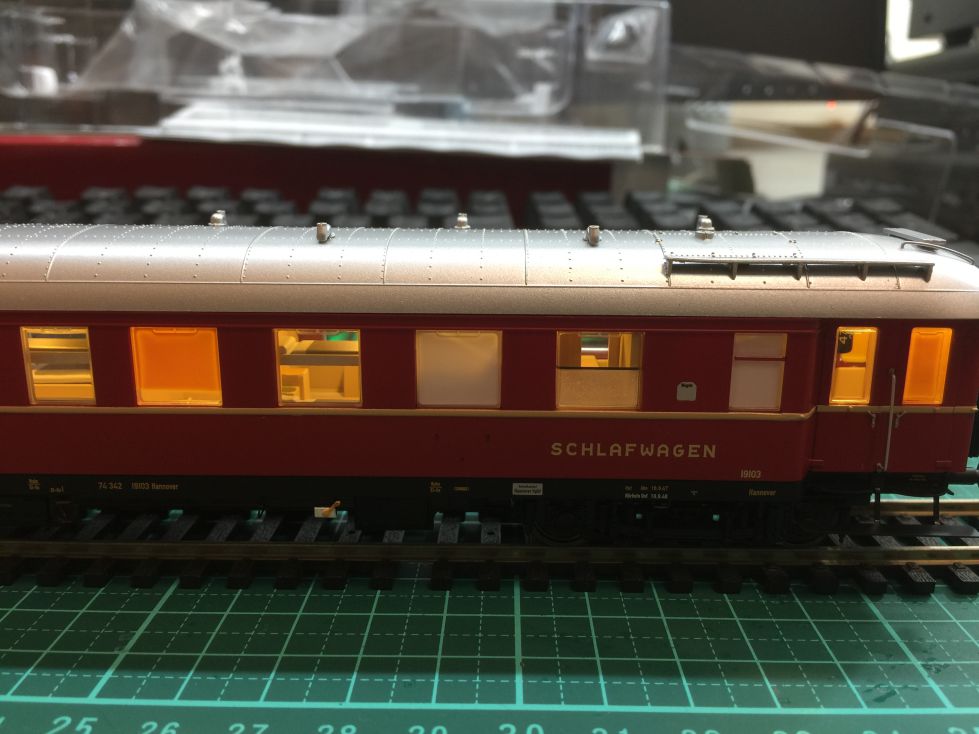
Install the coach on the track for testing the fantastic light bar effect.
![](http://drm.com.tw/wp-content/uploads/2019/02/IMG_8802.jpg)
![](http://drm.com.tw/wp-content/uploads/2019/02/IMG_8803.jpg)
![](http://drm.com.tw/wp-content/uploads/2019/02/IMG_8804.jpg)