
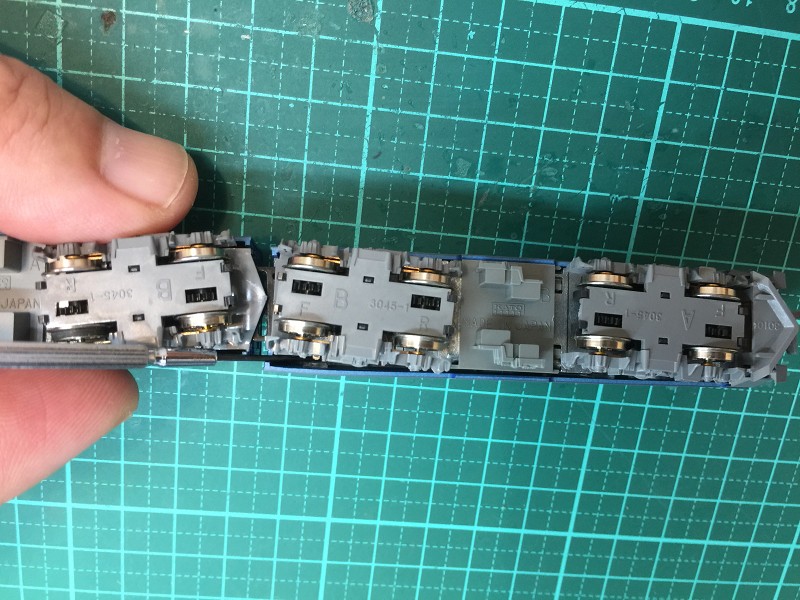
拆開外殼方式,在車輛兩側有卡榫,將一自行起子重車殼旁插入會看見透明壓克力,將壓克力卡榫往外撥,
車子的外殼往下拉,兩側都拉開,車殼就可以取下.
Disassemble the shell, there are latches on both sides of the vehicle, insert a self-driver next to the car shell, you will see transparent acrylic, and dial the acrylic latch.The shell of the car is pulled down, both sides are opened, and the shell can be removed

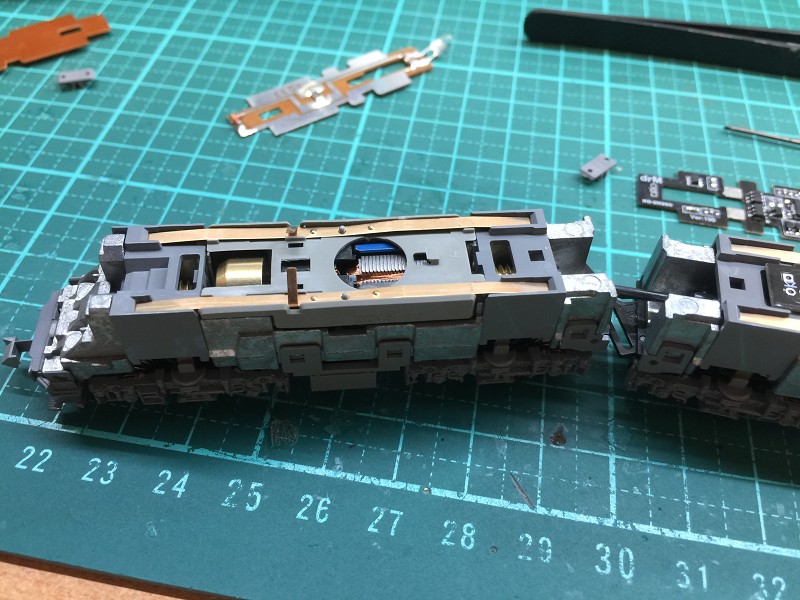
將原車上DC電路板移除.
Remove analog PCB on the train.

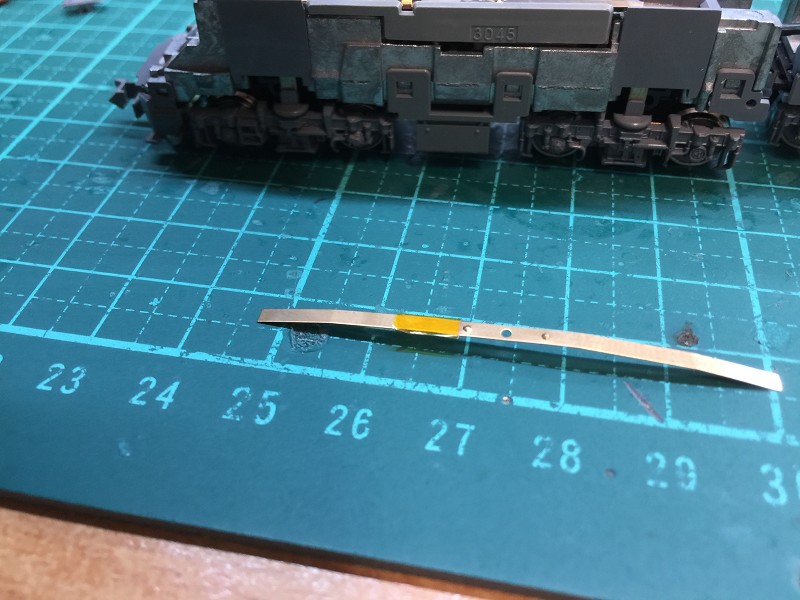
取下兩側銅片加工.
Remove the copper pieces on both sides.
在馬達銅片與接電片交叉位置,貼上膠帶做絕緣
At the intersection of the motor copper sheet and the electrical connection sheet, affix tape to make insulation.
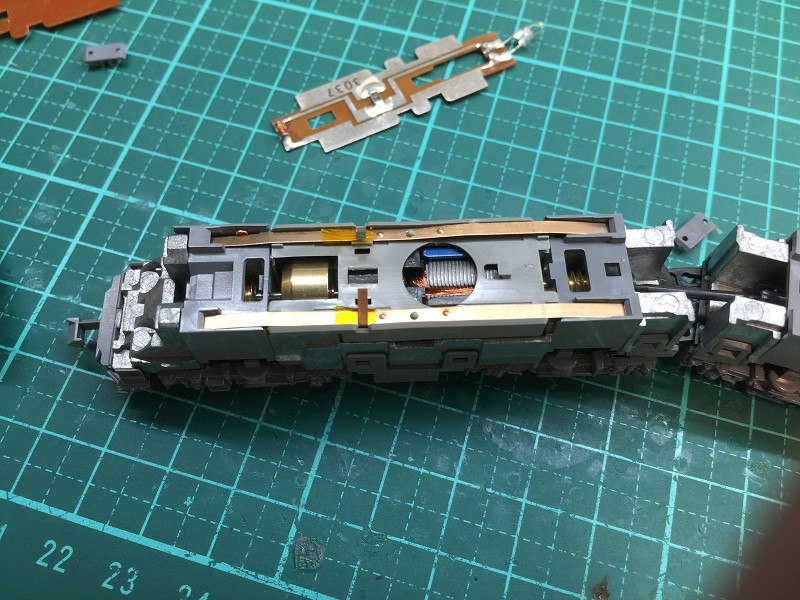
再將接電銅片安裝回車上,可以看到接電銅片與馬達銅片透過膠帶做絕緣
Then install the power receiving copper plate on the car, you can see that the power connecting copper plate and the motor copper plate are insulated by tape.

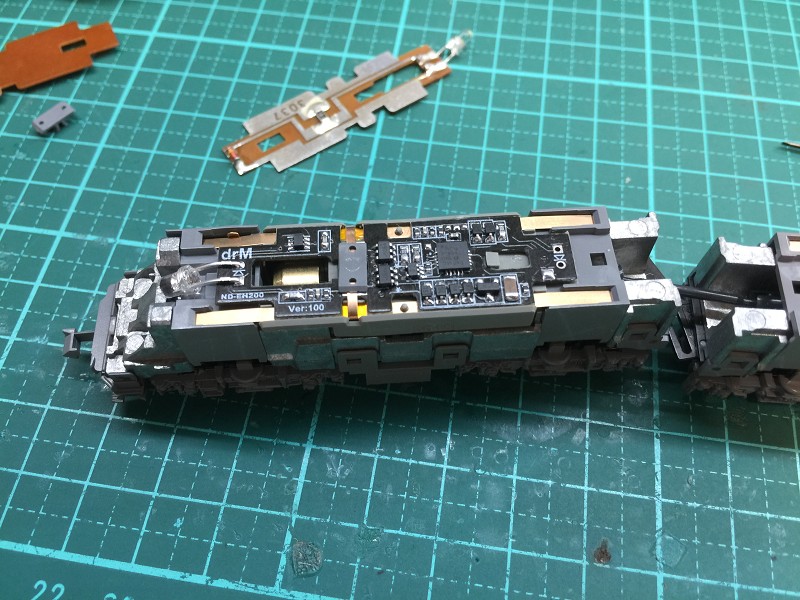
將ND-DE290 DCC解碼器裝上車子上,注意卡榫.
Install the ND-DE290 DCC decoder on the car, paying attention to the tenon.
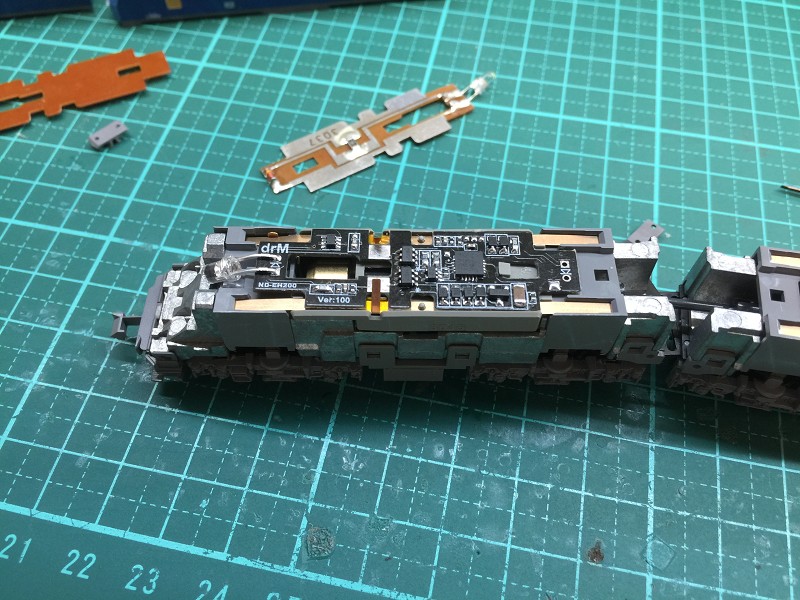
將馬達接點固定座裝回
Reinstall the motor contact mount.
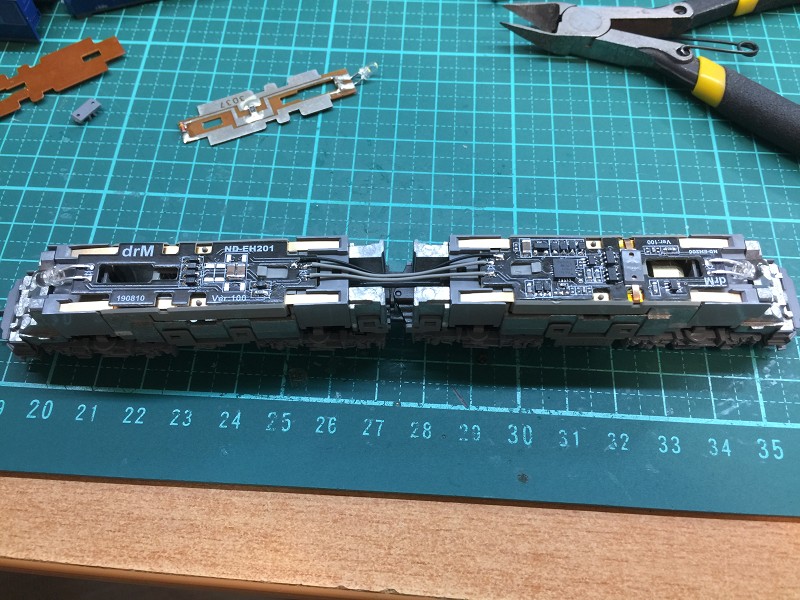
後方車輛沒有馬達,將ND-DE201 電路板,以同樣方式安裝於車輛中,兩車之間以3條電線連接,電線需要留一些長度
因為沒有預留長度,車殼蓋上會壓到電線.
The rear vehicle does not have a motor. Install the ND-DE201 circuit board in the vehicle in the same way. The two vehicles are connected by 3 wires. The wires need to be left with some length. Because there is no reserved length, the wire will be pressed onto the car cover.
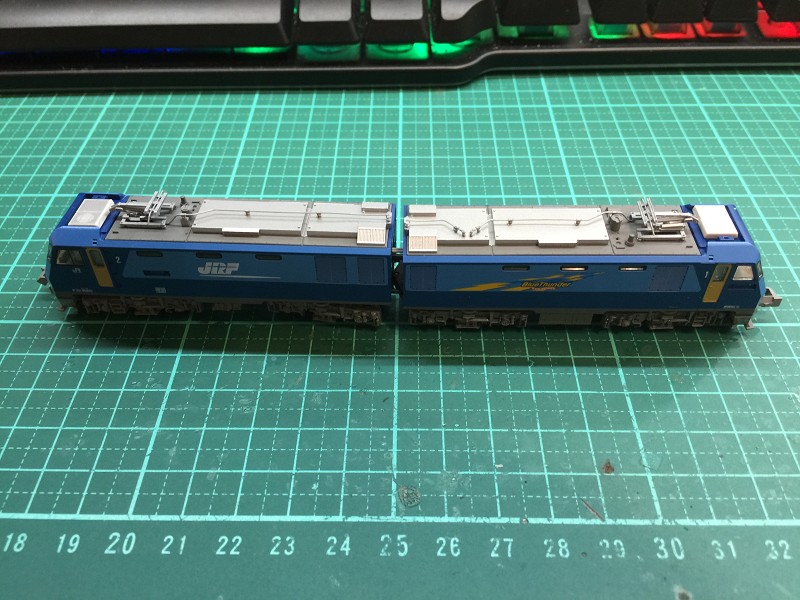
蓋上車殼後完工.
Cover the car shell and complete.